
Becoming a barista is more than learning to make coffee — it’s embracing an entire culture rooted in taste, hospitality, art, science, and mindfulness. Whether your goal is to work in a café, become a coffee entrepreneur, or simply refine your home brewing skills, your journey starts here. This comprehensive guide will walk you through every essential step to begin your path as a barista with confidence, clarity, and curiosity.
Why Choose the Barista Path?
The term “barista” may conjure the image of someone expertly pulling espresso shots behind a café counter, but the role has evolved to mean much more. In today’s world, a barista can be:
- A coffee shop professional
- A coffee content creator or reviewer
- A home-brewer with a passion for method and taste
- A brand ambassador or consultant for coffee equipment and beans
- A mindful artisan crafting coffee as a personal or community ritual
People are drawn to the barista journey for many reasons:
- Passion for flavor and discovery
- Desire to connect with people through hospitality
- Love for routine, ritual, and detail
- Interest in sustainable and ethical consumption
- Career growth in a global specialty coffee movement
If any of that resonates with you, you’re in the right place.
Step 1: Understand What Coffee Really Is
Before preparing excellent coffee, you must understand it as an ingredient — and as a story. Coffee is a complex agricultural product affected by soil, altitude, climate, and processing. Knowing the basics will help you appreciate what’s in your cup.
The Two Main Coffee Species
- Arabica – smoother, sweeter, with complex flavors (used in specialty coffee)
- Robusta – stronger, more bitter, with higher caffeine content
Coffee Origins and Flavor
Regions around the world produce beans with distinct flavor notes:
- Ethiopia – floral, tea-like, citrusy
- Colombia – balanced, nutty, caramel
- Brazil – chocolatey, full-bodied
- Kenya – wine-like acidity, fruity
- Guatemala – spicy, rich, sweet
Start tasting coffees from different regions and notice how origin affects taste.
Processing Methods
- Washed (wet) – clean, bright cup
- Natural (dry) – fruity, full-bodied
- Honey (semi-dry) – sweet, complex balance
These elements are your foundation for tasting and selecting beans.
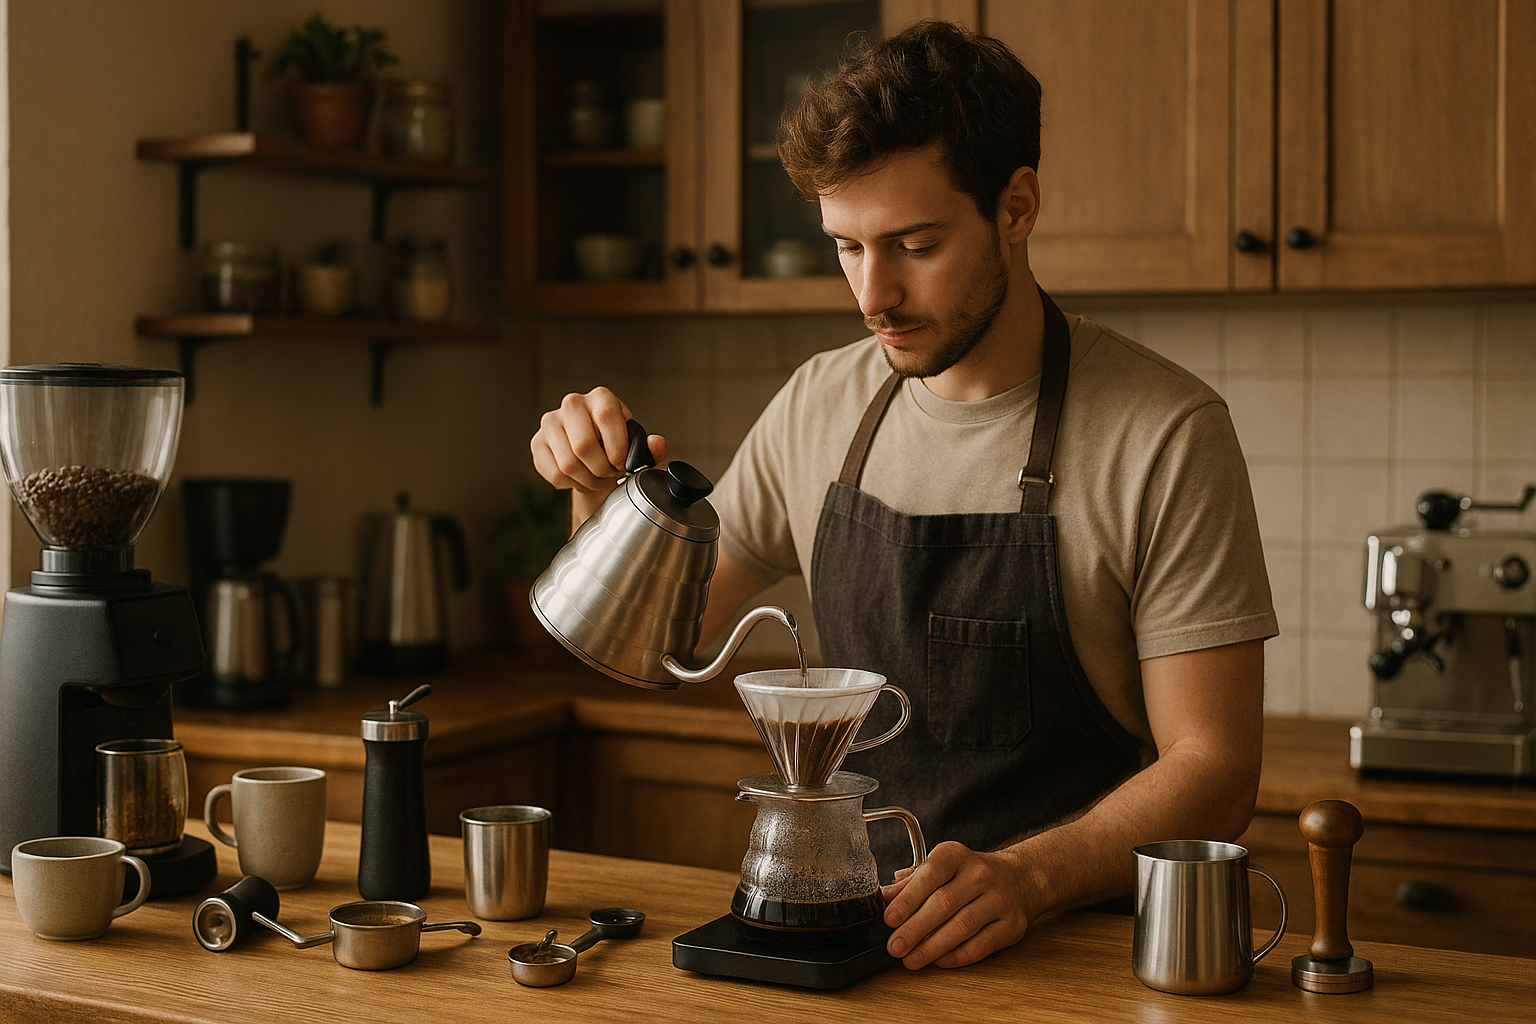
Step 2: Learn the Essential Tools of the Trade
A painter needs brushes. A musician needs instruments. A barista? Tools. Let’s review what you need to get started — both at home and professionally.
Basic Starter Kit:
- Burr grinder – Ensures even particle size for balanced extraction
- Scale – Precise control over dose and brew ratio
- Gooseneck kettle – Essential for pour-over control
- Coffee brewer – French press, AeroPress, or V60
- Thermometer – For water and milk temperature
- Timer – For consistent brew times
- Scoop/spoon – For measuring when scale isn’t available
- Tamper – If working with espresso
- Steam wand or frother – For milk-based drinks
- Cleaning brushes or tablets – To maintain quality
Investing in good tools from the start will make your learning process smoother and more enjoyable.
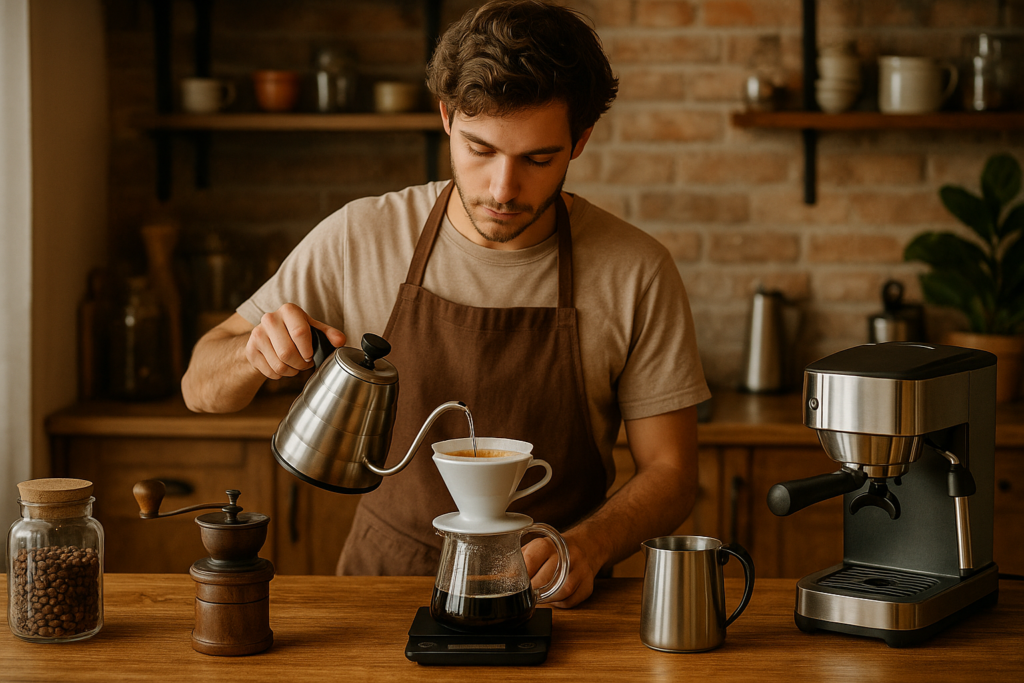
Step 3: Explore Brewing Methods
There are many ways to brew coffee, and each has its unique personality. As a beginner, you’ll want to experiment and find what suits your taste and lifestyle.
French Press (Immersion)
- Grind: Coarse
- Brew Time: 4 minutes
- Taste: Bold, earthy, full-bodied
- Tip: Stir halfway through and decant immediately to avoid bitterness
Hario V60 (Pour Over)
- Grind: Medium-fine
- Brew Time: 2.5–3.5 minutes
- Taste: Clean, vibrant, aromatic
- Tip: Pour in slow circles and let coffee bloom for 30 seconds first
AeroPress (Pressure-Immersion Hybrid)
- Grind: Medium
- Brew Time: 1.5–2 minutes
- Taste: Rich, smooth, and low acidity
- Tip: Invert the AeroPress for better immersion control
Moka Pot
- Grind: Fine
- Taste: Strong, concentrated — almost espresso-like
- Tip: Use pre-heated water to avoid burning the coffee
Start with one method. Master it. Then explore the next.
Step 4: Embrace the Sensory Side of Coffee
Coffee tasting is an art. Professional baristas train their palate to detect subtle differences in aroma, body, acidity, sweetness, and aftertaste.
How to Develop Your Palate
- Smell the dry and wet grounds
- Slurp the coffee when tasting (it aerates the liquid)
- Compare two or more brews side by side
- Journal your experiences: what did you notice?
Some common tasting notes to look for:
- Chocolate
- Berries
- Citrus
- Nuts
- Spices
- Caramel
- Floral notes
With time, your ability to detect these nuances will sharpen, and your appreciation will deepen.
Step 5: Get to Know Milk Texturing
Milk-based drinks like cappuccinos, lattes, and flat whites require mastery of steaming and pouring milk.
How to Steam Milk Properly
- Start with cold milk (dairy or plant-based)
- Submerge the steam wand just below the surface
- Let it stretch (foam) for a few seconds
- Submerge deeper to heat and texture
- Stop at 65°C to 70°C (150–160°F)
Types of Foam
- Cappuccino: Thick microfoam (dense and velvety)
- Latte: Silky, wet foam with a bit of stretch
- Flat white: Minimal foam, textured milk
Once your milk is right, practice latte art starting with simple shapes like a heart, then move to rosettas or tulips.
Step 6: Perfect Your Ratios and Extraction
Too weak? Too bitter? That’s extraction. Extraction is how much of the coffee’s flavor is pulled into your cup.
Ideal Brew Ratio
- Start with 1:15 (coffee to water) for most methods
- Espresso is usually 1:2
- Tweak depending on taste and grind size
Brew Time Guidelines
- Under-extracted coffee = sour, watery (too short, grind too coarse)
- Over-extracted coffee = bitter, dry (too long, grind too fine)
Control your grind, time, and ratio for consistency.
Step 7: Care For Your Tools
Clean tools = clean taste. Neglect leads to rancid flavors and equipment damage.
Cleaning Checklist:
- Rinse gear after every brew
- Wipe down your espresso machine and steam wand after every use
- Clean grinders weekly (use a brush or cleaning pellets)
- Backflush espresso machines with detergent weekly
Invest in a few maintenance items like:
- Espresso cleaner tablets
- Microfiber cloths
- Descaling solution for kettles and machines
Step 8: Connect With the Coffee Community
There’s so much to learn, and you don’t have to do it alone. The coffee community is vibrant and global.
Ways to Get Involved:
- Join forums like Home-Barista or CoffeeGeek
- Follow experts like James Hoffmann on YouTube
- Attend local cuppings, classes, or barista jams
- Visit specialty coffee shops and ask questions
- Join Facebook or Reddit groups dedicated to coffee
The more you talk about coffee, the faster you learn.
Step 9: Keep Learning and Experimenting
Baristas never stop learning. Coffee is always evolving — new beans, roasts, techniques, and tools.
Ideas to Keep Growing:
- Brew the same beans with 3 methods
- Compare different roasts of the same origin
- Try single-origin vs. blends
- Build a coffee recipe book
- Teach a friend — it reinforces your own learning
Consider enrolling in online barista training or certification if you want to go pro.
Final Thoughts: Start Simple, Brew With Intention
The journey of a barista is one of patience, curiosity, and practice. Don’t rush. Make one cup at a time — and make it count. With each brew, you’ll get closer to mastering flavor, technique, and self-expression through coffee.
Whether you dream of opening your own café, becoming a professional barista, or simply making the best coffee for yourself each morning, this is your starting line.
So grab your kettle, weigh your beans, and take your first step. The journey starts with one cup.

I’m an economist with 15 years of experience in strategic planning and a lifelong passion for wellness and natural living. As a self-learner, I created Herbalife Balance to share insights on healthy eating, mindful habits, and an active lifestyle. Tennis enthusiast and nature lover, I believe in balance as a path to well-being. Through this blog, I help others live healthier, more conscious lives.
I love coffee.