
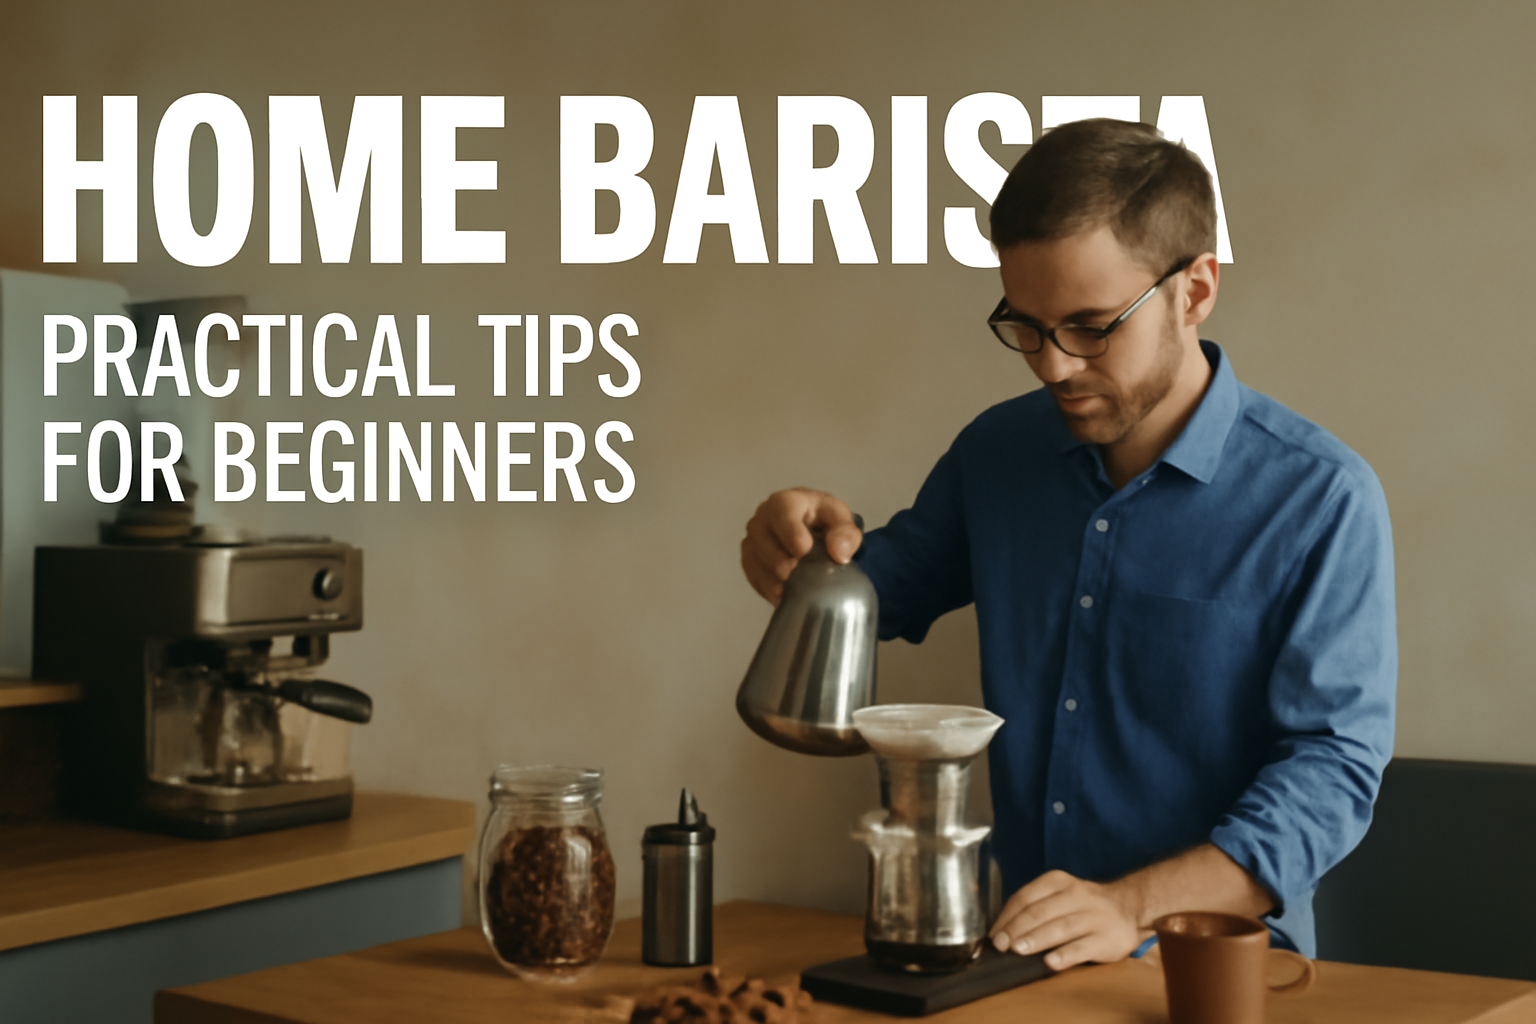
In recent years, the concept of becoming a “home barista” has grown into a global movement. No longer limited to cafés or professional settings, the art of preparing high-quality coffee at home has captured the interest of passionate coffee lovers, aspiring baristas, and everyday people seeking a deeper connection with their morning brew.
But how do you get started? What tools do you really need? And how can you avoid the common mistakes beginners make?
In this guide, we’ll walk you through the practical steps to becoming a confident, consistent, and creative home barista — even if you’re just starting with a basic setup.
Why Become a Home Barista?
Being a home barista isn’t just about saving money on café visits. It’s about:
- Gaining control over quality and flavor
- Customizing coffee to your exact taste
- Developing a rewarding skill
- Turning coffee preparation into a daily ritual of joy
- Impressing friends and family with your creations
Plus, learning the fundamentals of coffee brewing improves your appreciation for the bean, the farmers, and the science behind each cup.
Step 1: Start With Good Coffee Beans
Your journey begins not with machines or gear, but with the beans. No matter how advanced your setup, you can’t brew great coffee with stale or low-quality beans.
What to Look For:
- Fresh roast date (aim for beans roasted within the last 2–4 weeks)
- Whole beans (never pre-ground)
- Arabica for more nuanced flavors (vs. Robusta, which is stronger but often more bitter)
- Single-origin if you want to explore specific flavor profiles, or blends for balance
Look for local roasters or reputable online specialty coffee vendors that list tasting notes, origin, and roast profiles.
Tip:
Buy in small quantities (250g or 500g) to keep your beans fresh. Store in an airtight container away from light and heat.
Step 2: Invest in the Essentials (Not Everything at Once)
You don’t need to buy everything immediately. Start with the basics and grow your coffee bar over time.
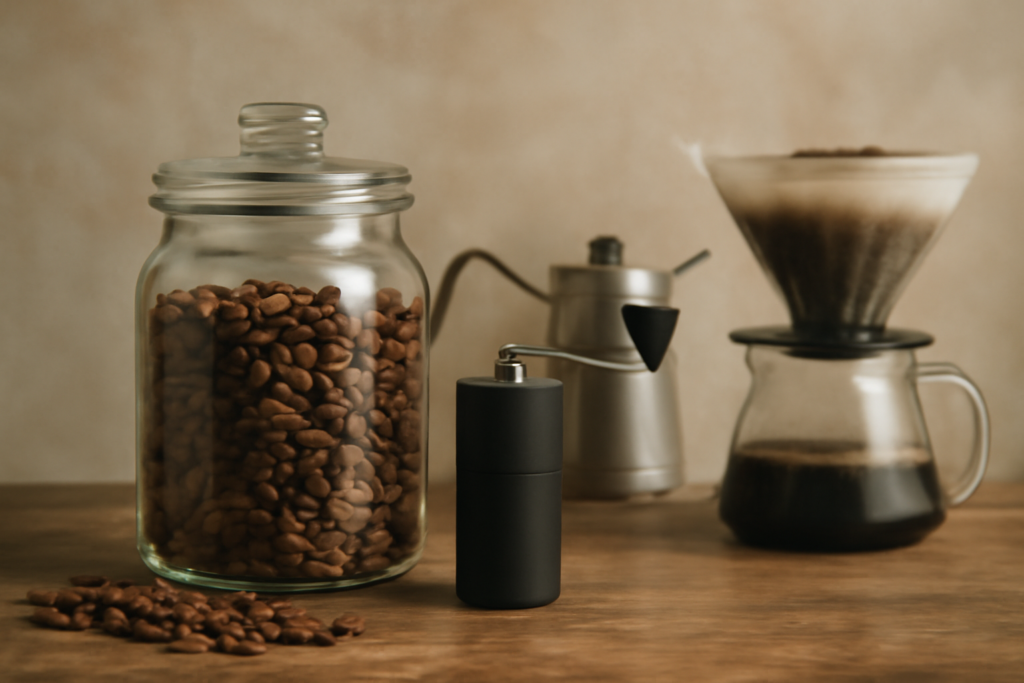
Absolute Essentials:
- Burr Grinder: Manual or electric, but avoid blade grinders
- Scale: Precision matters — aim for one that measures to 0.1g
- Brewer: Choose one method (see below)
- Kettle: A gooseneck kettle gives better control for pour-over
- Thermometer (optional): Helps regulate water temperature
Best Starter Brew Methods:
- French Press – Simple, full-bodied coffee
- AeroPress – Compact, fast, and versatile
- V60 (Pour Over) – Clean, bright, and great for learning technique
- Moka Pot – Strong and espresso-like, great for milk drinks
Optional Nice-to-Haves Later On:
- Espresso machine (semi-automatic or manual)
- Steam wand or milk frother
- Knock box, tamper, dosing funnel
- Digital temperature-controlled kettle
Start small. Grow as you learn.
Step 3: Understand the Golden Ratio
One of the most important barista skills is understanding and controlling the brew ratio — the amount of coffee compared to the amount of water.
Standard Starting Point:
- 1:15 to 1:17 ratio (e.g., 20g of coffee to 300–340g of water)
- For espresso: 1:2 ratio (e.g., 18g coffee to 36g liquid)
Experiment by adjusting the ratio slightly to suit your taste — more coffee = stronger brew, more water = lighter.
Use your scale to ensure consistency and control.
Step 4: Master Your Grind Size
Grind size changes everything. Each brewing method requires a specific grind texture, and the wrong size can ruin your cup.
Quick Grind Guide:
- French Press – Coarse
- Pour Over (V60, Chemex) – Medium to medium-fine
- AeroPress – Fine to medium
- Espresso – Fine (like table salt)
- Cold Brew – Extra coarse
Too fine = over-extracted = bitter
Too coarse = under-extracted = sour
Experiment and adjust based on brew time and flavor.
Step 5: Nail the Water Temperature
Water that’s too hot burns your coffee. Too cold, and it won’t extract flavor properly.
Ideal Temperature:
- Between 90°C and 96°C (195°F–205°F)
- Boil water and let it rest for 30 seconds before brewing if you don’t have a thermometer
Filtered water is also important — bad tap water means bad coffee, no matter how good your beans are.
Step 6: Develop a Brewing Routine
Great coffee comes from consistency. Create a repeatable routine that allows you to notice small changes and improve over time.
Sample Routine:
- Heat your water
- Weigh and grind your beans
- Rinse your filter (if using one)
- Start your timer and bloom the coffee (wet it gently)
- Pour water in controlled motions
- Let brew for target time
- Stir, press, or serve accordingly
Make one change at a time to learn how it affects the result. That’s how you grow your skill.
Step 7: Practice Sensory Awareness
Being a good home barista means developing your palate. This doesn’t require fancy training — just curiosity.
Practice This:
- Smell the coffee before and after brewing
- Sip slowly and notice flavors, textures, acidity, sweetness, and aftertaste
- Try different origins and roast levels
- Keep a tasting journal
The more you notice, the more you learn what you like — and how to recreate it.
Step 8: Learn Basic Milk Steaming and Frothing
If you love milk-based drinks like cappuccinos or lattes, learning to froth milk is essential.
Without a Machine:
- Use a French press or milk frother
- Heat milk to 60–70°C (140–160°F)
- Pump or whisk until you get smooth microfoam
Then pour slowly into your coffee, or try simple latte art like a heart or swirl.
Plant-Based Milk Tips:
- Oat milk: Best texture and taste for frothing
- Soy milk: Froths well, but can curdle with acidic coffee
- Almond milk: Lighter and less creamy
- Use “barista” versions for better results
Step 9: Clean and Maintain Your Gear
Even the best tools produce bad coffee if they’re dirty.
Basic cleaning tips:
- Rinse and dry brewers after each use
- Clean grinders weekly (brush out grounds and oil)
- Descale kettles and espresso machines monthly
- Store beans in airtight, dark containers
Clean gear = clean taste.
Step 10: Join the Coffee Community
You don’t have to do it alone. There’s a vibrant online and local community of coffee lovers ready to share knowledge.
Join:
- Reddit: r/coffee or r/espresso
- YouTube: James Hoffmann, European Coffee Trip, Seattle Coffee Gear
- Instagram: Follow home baristas and coffee roasters
- Local events: Cuppings, classes, latte art jams
Asking questions, watching tutorials, and comparing notes accelerates your learning.
Troubleshooting Common Beginner Mistakes
Here are a few issues most beginners face — and how to fix them:
Problem: My coffee is too bitter
Fix: Grind coarser, shorten brew time, reduce water temp
Problem: My coffee is sour
Fix: Grind finer, increase water temp, extend brew time
Problem: My brew is weak or watery
Fix: Use more coffee or finer grind, tighten your ratio
Problem: My milk won’t froth
Fix: Use fresher milk, proper temperature, and better tools
Don’t get discouraged — brewing coffee is a skill, and skills take practice.
Final Thoughts
Becoming a home barista is one of the most rewarding hobbies you can take on. It connects you to the origin of your food, helps you slow down and focus, and gives you a sense of accomplishment with every cup you craft.
Start simple. Learn with joy. Brew often. The more you engage with the process, the more intuitive it becomes — until preparing coffee is no longer just a task, but a ritual of self-expression and care.
The café is now in your kitchen. Enjoy the journey, one cup at a time.
I’m an economist with 15 years of experience in strategic planning and a lifelong passion for wellness and natural living. As a self-learner, I created Herbalife Balance to share insights on healthy eating, mindful habits, and an active lifestyle. Tennis enthusiast and nature lover, I believe in balance as a path to well-being. Through this blog, I help others live healthier, more conscious lives.