
Espresso is the foundation of many coffee drinks, from the velvety lattes to the bold americanos. It’s a concentrated coffee brewed by forcing hot water through finely-ground coffee at high pressure, resulting in a small, intense shot. To the untrained eye, espresso may seem simple, but it’s actually a complex and delicate art form that requires precision and skill.
For beginner baristas or those looking to refine their espresso-making abilities, crafting the perfect shot involves understanding the right techniques, tools, and practices. In this article, we’ll break down everything you need to know to brew an espresso shot that’s rich, flavorful, and full of character.
The Importance of Quality Beans
The journey to the perfect espresso shot begins with selecting the right coffee beans. Since espresso is made by concentrating the flavors, the quality of the beans directly impacts the end result. Here’s what to keep in mind when choosing your beans:
1. Arabica vs. Robusta
- Arabica Beans: These are the most common choice for espresso because they have a smooth, sweet flavor with a mild acidity. They often produce a well-rounded shot with fruity, floral, or nutty notes.
- Robusta Beans: Robusta beans have a stronger, more bitter flavor and contain more caffeine. These beans create a thicker crema and are sometimes used in blends to add body and intensity. However, using too much Robusta in your espresso can lead to a harsh taste.
2. Freshness Matters
The fresher your coffee beans, the better your espresso shot will taste. Coffee beans begin to lose their aroma and flavor soon after roasting, so it’s crucial to buy beans that are freshly roasted. Ideally, you should use the beans within two weeks of roasting for optimal flavor.
Grinding Your Coffee Beans
The grind size is one of the most critical factors when it comes to making espresso. A consistent grind allows water to pass evenly through the coffee, extracting the full range of flavors. For espresso, you need a fine grind, almost like powdered sugar, but not too fine to create clogs in the espresso machine.
1. Grinder Choice
For the best consistency, use a burr grinder rather than a blade grinder. Burr grinders ensure that the coffee grounds are uniform in size, which is essential for consistent extraction. Blade grinders, on the other hand, can produce unevenly sized coffee particles, leading to inconsistent brewing.
2. Amount of Coffee
Typically, a single espresso shot uses about 9 grams of ground coffee, while a double shot uses 18 grams. Some baristas prefer a slightly higher dose for a more intense flavor. The key is to ensure that the coffee is evenly distributed in the portafilter.
Tamping the Coffee Grounds
Tamping refers to pressing the coffee grounds evenly into the portafilter to ensure uniform extraction. Proper tamping is essential for creating the right pressure during the brewing process, preventing any channeling where water bypasses the coffee grounds, which can lead to weak or uneven shots.
1. Tamping Pressure
Aim for a firm and even tamp, applying around 30 pounds of pressure. Too much pressure can lead to over-extraction, making the shot bitter, while too little pressure can result in under-extraction, leading to a weak, watery shot.
2. Level the Coffee
After tamping, check that the coffee grounds are level. If the grounds are uneven, the water will flow unevenly through the coffee, leading to inconsistent extraction. You can tap the portafilter gently on the counter to settle the grounds before tamping.
Brewing Your Espresso Shot
Now that your coffee is ground and tamped, it’s time to brew your espresso shot. Espresso machines use pressure to force hot water through the coffee grounds, typically between 9 and 10 bars of pressure.
1. Brewing Time
The ideal brewing time for espresso is between 25 and 30 seconds. If your shot is brewing too quickly or too slowly, adjust the grind size. A shot that brews too quickly may need a finer grind, while a shot that brews too slowly may need a coarser grind.
2. Water Temperature
The water temperature should be between 190°F (88°C) and 200°F (93°C). If the water is too hot, it can scorch the coffee and produce a bitter taste. If it’s too cold, the coffee may taste under-extracted, flat, or sour.
3. Extracting the Shot
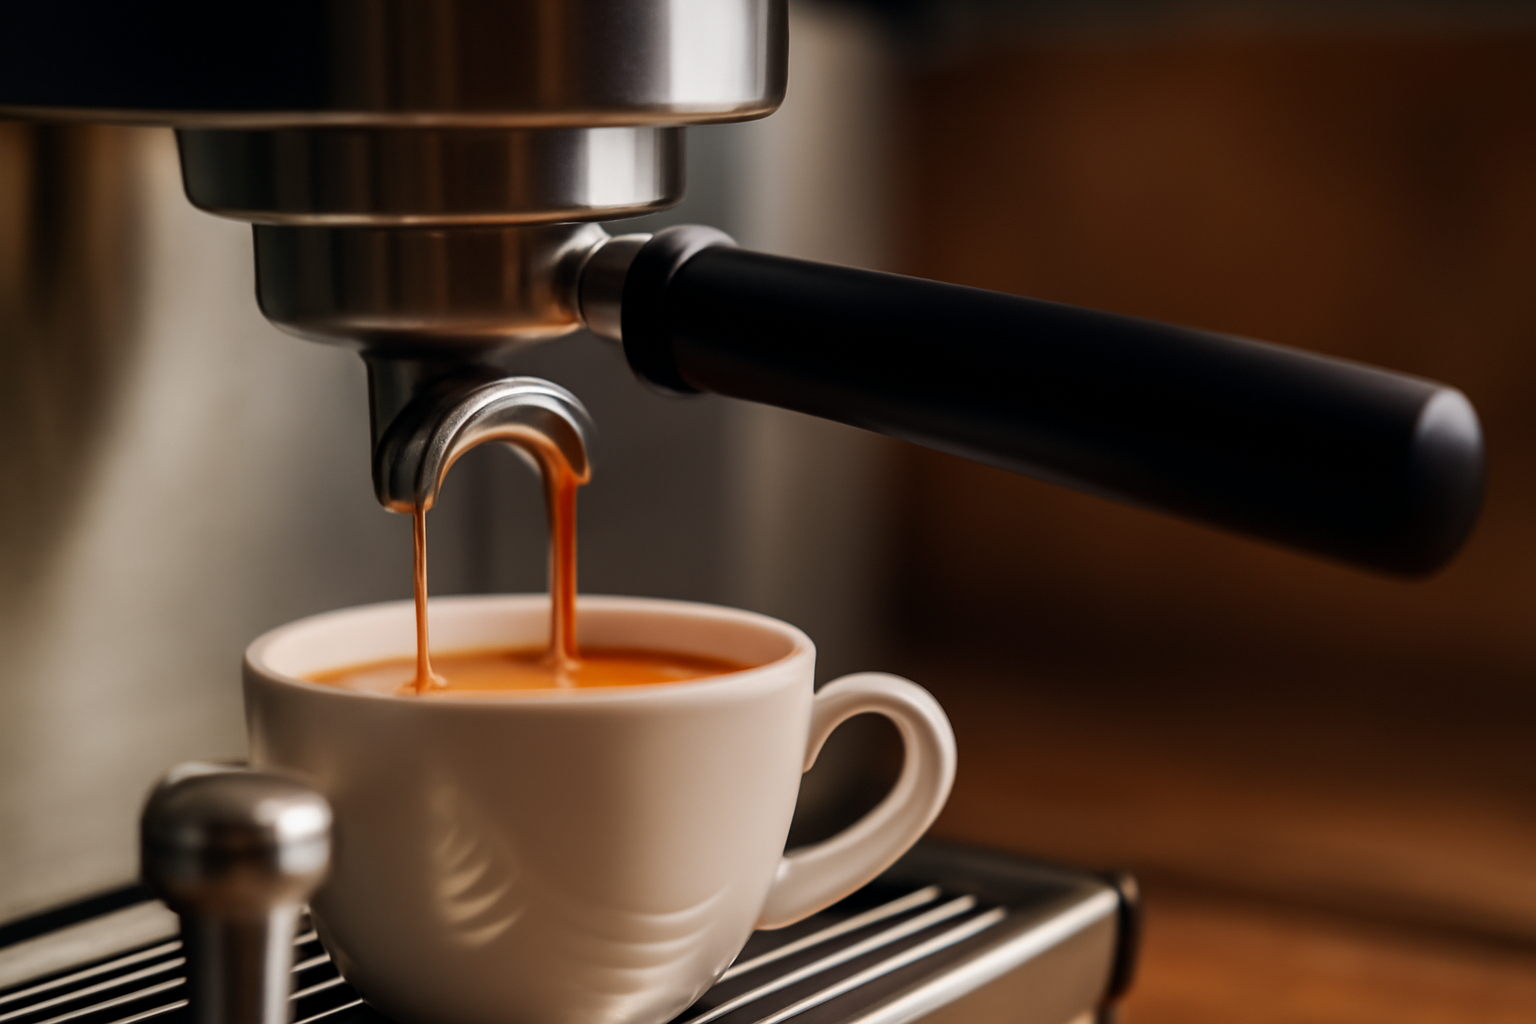
When the espresso begins to pour, it should have a rich, golden crema on top. The crema is a sign of a well-pulled shot and is the result of the oils and gases in the coffee being emulsified during the brewing process. The shot should flow smoothly, not too fast or slow, and end with a small puddle of coffee in the bottom of your cup.
Troubleshooting Common Espresso Problems
Even with the best equipment, you may encounter some common issues when brewing espresso. Here’s how to troubleshoot:
1. Espresso Tastes Bitter
If your espresso tastes bitter, it could be due to over-extraction, which happens when the water pulls too much from the coffee. This can occur if the grind is too fine, the tamping pressure is too high, or the brewing time is too long. To fix this, adjust your grind to be slightly coarser, reduce the tamping pressure, and keep the brewing time within the 25-30 second range.
2. Espresso Tastes Sour
Sour espresso is often caused by under-extraction, which happens when the water doesn’t extract enough of the coffee’s flavors. This can occur if the grind is too coarse, the water temperature is too low, or the brewing time is too short. To resolve this, use a finer grind, increase the brewing time, and make sure the water temperature is within the ideal range.
3. No Crema
Crema is the hallmark of a great espresso shot. If your shot has little to no crema, it could be due to stale or low-quality beans, a grind that’s too coarse, or improper tamping. Ensure your beans are fresh, adjust your grind to be finer, and tamp the coffee grounds evenly.
Mastering Latte Art
Once you’ve mastered the basics of brewing espresso, you can start experimenting with latte art. Latte art is the technique of pouring steamed milk into espresso in a way that creates beautiful designs on the surface. While it may take some practice, learning how to pour a simple heart or rosette will elevate your coffee-making skills to the next level.
1. Steaming the Milk
To create latte art, you need to steam your milk to the right temperature (around 150°F or 65°C) and texture. The milk should be velvety and smooth, with a microfoam texture that creates small bubbles. Avoid overheating the milk, as it can lose its sweetness and become too bubbly.
2. Pouring the Latte Art
Once your espresso shot is ready, pour the steamed milk slowly into the center of the cup, then gradually increase the speed of your pour as you reach the edges. With a little practice, you’ll be able to create heart shapes, rosettas, and other intricate designs.
Conclusion: Perfecting the Art of Espresso
Crafting the perfect espresso shot requires a balance of skill, precision, and practice. From selecting the right beans to tamping the coffee grounds with the perfect amount of pressure, each step plays a crucial role in the final result. By paying attention to the details—grind size, water temperature, and brewing time—you can consistently create a shot of espresso that’s rich, flavorful, and satisfying.
Whether you’re a home enthusiast or a professional barista, mastering the art of espresso is an ongoing journey. With each shot you brew, you’ll learn something new, and with time, you’ll be able to craft the perfect espresso every time.

I’m an economist with 15 years of experience in strategic planning and a lifelong passion for wellness and natural living. As a self-learner, I created Herbalife Balance to share insights on healthy eating, mindful habits, and an active lifestyle. Tennis enthusiast and nature lover, I believe in balance as a path to well-being. Through this blog, I help others live healthier, more conscious lives.