
Latte art is one of the most impressive aspects of coffee preparation, transforming a simple cup of coffee into a work of art. Whether you’re a professional barista or just someone looking to impress friends and family, mastering latte art can take your coffee-making skills to the next level. The good news is that anyone can learn how to create stunning designs, as long as they understand the basics and are willing to practice. In this beginner’s guide, we’ll break down everything you need to know about creating beautiful latte art, from the right tools to the techniques involved.
1. What is Latte Art?
Latte art refers to the process of pouring steamed milk into a cup of espresso to create intricate patterns or designs. The art is made by manipulating the milk’s texture and pouring it in a controlled manner over the espresso. The result is a visually appealing drink that enhances the sensory experience of coffee.
The Basic Elements of Latte Art
There are two primary types of latte art: free pour and etching.
- Free Pouring: This method involves pouring steamed milk directly into the espresso to form shapes or patterns. Common designs include hearts, rosettas, and tulips.
- Etching: Etching is a more advanced technique where designs are drawn on the milk foam with a sharp object, such as a toothpick or a latte art pen. This technique allows for more detailed and intricate designs, such as animals, faces, or complex patterns.
For beginners, free pouring is the most accessible method to start with.
2. Essential Tools for Latte Art
To create beautiful latte art, having the right tools is essential. Fortunately, you don’t need a high-end machine to get started. Here’s a list of the basic tools you’ll need to master latte art:
1. Espresso Machine with a Steam Wand
An espresso machine with a steam wand is the primary tool for making espresso and steaming milk. The steam wand is crucial for creating the right texture for your milk, which is necessary for pouring successful latte art.
2. Milk Frothing Pitcher
A milk frothing pitcher is used to steam and pour milk. It should have a narrow spout, as this helps you control the flow of milk when pouring the design. A smaller pitcher is better for beginners because it allows for more precise control.
3. Fresh Coffee Beans
The quality of the espresso is just as important as the milk texture. Choose fresh, high-quality coffee beans that are roasted for espresso. A well-pulled shot of espresso will provide a beautiful base for your latte art, with a rich and velvety crema on top.
4. Thermometer
A thermometer is optional but can be helpful when you’re starting. It allows you to ensure that the milk reaches the perfect temperature of 60-65°C (140-149°F) for creating silky microfoam. If you’re working without a thermometer, you can also test the temperature by feeling the pitcher—if it’s too hot to touch comfortably, you’re there!
5. A Sharp Object (Optional for Etching)
For advanced designs, you can use a toothpick or a special etching tool to create more detailed latte art by drawing into the foam after pouring. However, most beginners start with free pouring, so this tool is not necessary at the beginning.
3. Steaming the Milk for Latte Art
The key to successful latte art is the milk. The texture of the milk must be smooth and velvety, with a microfoam consistency. This is achieved through the process of steaming, which involves introducing air into the milk while heating it.
How to Steam Milk for Latte Art
- Pour the Milk into the Pitcher: Pour cold milk into your frothing pitcher. Fill it to about one-third full, leaving space for the milk to expand as it froths.
- Purge the Steam Wand: Before steaming, always purge the steam wand by turning it on briefly to release any water. This ensures that only steam is introduced into your milk.
- Position the Steam Wand: Place the steam wand just below the surface of the milk. You want it to be slightly off-center to create a whirlpool effect.
- Start Steaming: Turn on the steam and begin frothing the milk. As the steam wand injects steam into the milk, you’ll hear a gentle hissing sound. This means air is being introduced into the milk, which is essential for creating foam.
- Create a Whirlpool: As the milk heats up, move the frothing pitcher to maintain a swirling motion. This will help create microfoam, the velvety texture that is perfect for latte art. The milk should be smooth, shiny, and free of large bubbles.
- Stop Steaming: Once the milk has reached the desired temperature (around 60-65°C), turn off the steam and remove the wand. Gently tap the pitcher on the counter to eliminate any large bubbles and swirl the milk again to ensure it’s well-mixed.
The Importance of Microfoam
The texture of the milk is crucial for latte art. Microfoam is the smooth, silky foam that should be created by the steam wand. It’s not the same as the thick, bubbly foam used for cappuccinos. Microfoam should be velvety, with tiny, uniform bubbles that give the milk a creamy consistency.
4. Pulling the Espresso Shot
A good shot of espresso is the foundation of latte art. Without a rich, velvety crema on top, your designs won’t be as pronounced. Here’s how to pull the perfect shot:
- Grind the Coffee: Use a fine grind specifically for espresso. The grind size should resemble powdered sugar, and it’s essential to adjust your grind based on your machine’s specific needs.
- Tamp Evenly: After adding the coffee grounds to the portafilter, use a tamping tool to apply even pressure, creating a smooth and level surface. This ensures a uniform extraction.
- Brew the Espresso: Lock the portafilter into the espresso machine and brew the shot. It should take 25-30 seconds to extract the espresso. The ideal shot should have a rich, golden crema on top, which is essential for creating beautiful latte art.
5. Pouring Latte Art
Now comes the fun part—pouring the art! Once your espresso and milk are ready, it’s time to combine them. Here’s a basic guide for pouring the perfect latte art:
1. Start with the Espresso
Pour your freshly brewed espresso into your serving cup. The crema should be rich and smooth, providing the perfect canvas for your art.
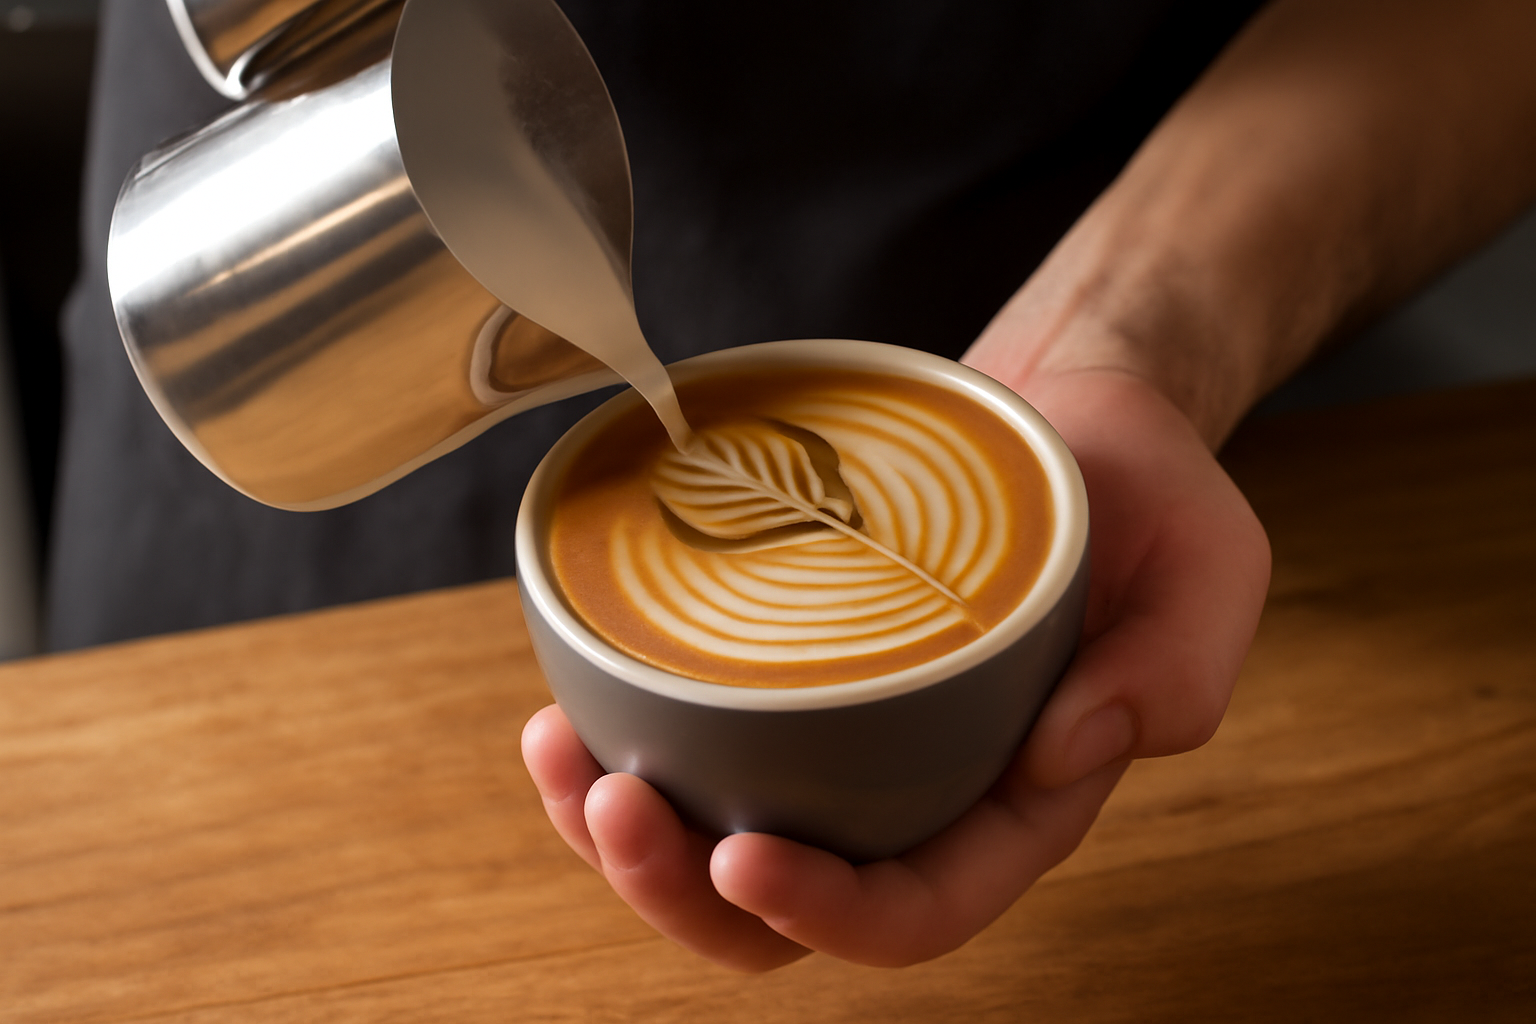
2. Pour the Milk
Hold the milk frothing pitcher just above the cup. Begin pouring the milk slowly and steadily into the center of the cup, allowing the milk to mix with the espresso. As you pour, you’ll notice the milk and espresso start to blend together.
3. Form the Design
As the cup fills, lower the pitcher closer to the surface of the coffee and increase the speed of your pour. This is when the magic happens! Here are a few basic designs you can try:
- Heart: To create a heart, pour the milk slowly into the center of the espresso, then quickly move the pitcher back and forth, creating the heart shape as you finish the pour.
- Rosetta: For a rosetta, start by pouring into the center of the espresso and then move the pitcher back and forth while lifting it slightly. This creates a fern-like pattern.
- Tulip: To make a tulip, pour in a steady stream and create multiple layers of circles, with the last one forming the top of the tulip.
4. Practice, Practice, Practice
Latte art takes time to master. Don’t get discouraged if your first attempts don’t turn out as expected. Keep practicing, and soon you’ll be able to create stunning designs with ease.
6. Troubleshooting Common Latte Art Problems
If your latte art doesn’t turn out as planned, don’t worry. Here are some common problems and their solutions:
- No Crema: If your espresso doesn’t have a rich crema, it could be due to stale coffee beans, incorrect grind size, or improper tamping. Make sure you’re using fresh coffee and adjusting your technique accordingly.
- Bubbly Foam: If your milk foam is too bubbly, it means you haven’t steamed the milk enough to create microfoam. Try steaming the milk more gently to create a smoother texture.
- Poor Designs: If your designs are hard to achieve, it could be due to the pouring speed, the milk texture, or the espresso quality. Focus on getting the milk to the perfect texture and practice pouring with control.
Conclusion
Latte art is a skill that takes practice, but with the right tools and techniques, anyone can learn to create beautiful designs. Whether you’re looking to impress friends or enhance your coffee experience, mastering latte art will make every cup feel like a special occasion. Start with the basics, practice regularly, and soon you’ll be able to pour intricate, stunning designs that are sure to impress!

I’m an economist with 15 years of experience in strategic planning and a lifelong passion for wellness and natural living. As a self-learner, I created Herbalife Balance to share insights on healthy eating, mindful habits, and an active lifestyle. Tennis enthusiast and nature lover, I believe in balance as a path to well-being. Through this blog, I help others live healthier, more conscious lives.